A Step-by-Step Guide To Male Fashion Sketch Design Easy and Fast

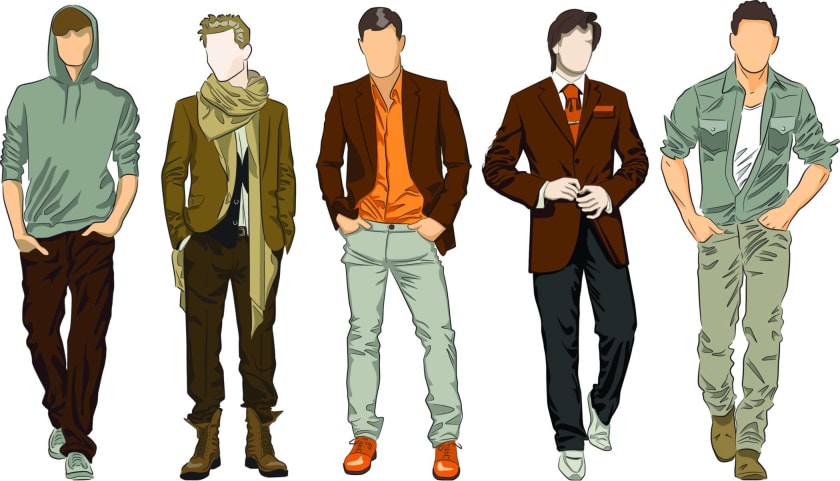

Innovations in the fashion industry are first shown as hand-drawn drawings before being cut and sewn. Fashion sketching is a technique that takes a long time to master and requires a lot of discipline and effort. The ability to easily and legibly design one original clothing concept is perhaps the most satisfying aspect of learning how to sketch a designer image. It doesn't have to be difficult to draw a stylish figure. To understand more, reach out to Fashinza. Here, you shall be able to get immense knowledge of fashion. Here is a quick and simple step-by-step approach to fashion sketch creation.
Step 1 - Using the '9 heads' measure to start
The head's height and width are utilised as a guideline for the whole body's measurements. The dimensions of a fashion model are exaggerated in a nine heads figure. An 8-head figure represents almost a replica of actual human body size, while a 9-head figure is a longer body form to exhibit items in an expanded and dramatic size. This figure is one head higher than a genuine human being. The lengthening is done below the waist; the waist is generally set at the 4th head mark in the figure. However, fashion models may have a wide range of body proportions. Thus, it is advised to make the sketch body in any form or size you choose.
Step 2 - Draw a baseline for the definition
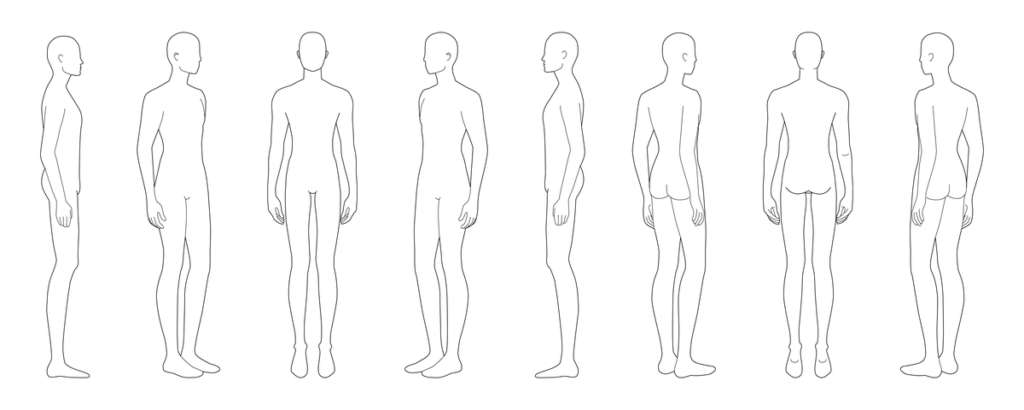
In the centre of the nine heads, sketch a vertical line. It indicates the centre of gravity of the structure. Trace the line along the spine of almost any fashion sketch design, from the crown of the head to the end of the feet. Regardless of the subject posing in a leaning stance, the balancing line should be perfectly straight. Remember, a proportionate model isn't essential because the apparel is the focus and not your line-drawing abilities.
Step 3 - Start with defining the pelvic area
Starting with the hip or pelvic line or area is the simplest approach to fashion sketch design. The uppermost section of the figure should be about the same length as the first segment from the pelvic marker. The centre section should be somewhat longer than the two surrounding sections. Tilt that pelvic block to the left or right, depending on your chosen stance. If you want your model's hips to be sloped to the left, bend the block to the left marginally. Simply draw the line upright without any bends to the sides if you want a regular standing figure.
Step 4 - Add arms and legs definition
Create ovals for the shoulders, biceps, and lower arms to sketch the arms. Bend the forearm area directly into the wrists. Making the arms lengthier than natural in relation to the body is for a more stylised effect. Last, add the fingers and wrists.
For the top and lower leg, again draw ellipses. Legs must be the most extended section of the body, measuring around five heads in length. The thighs and calves of the legs are likewise divided into two sections.
For the feet, make extended triangles of the very same length as the skull. The soles of the feet should appear thin.
Step 5 - Make both sides even
Finish the fashion sketch design along both sides of the template using proportional lines. Always keep in mind that anything you get on one half must be repeated on another. If you've only drawn one half, flip it on the balancing axis and trace over it to make the opposite side.
Step 6 - Create movement with your fashion sketch design
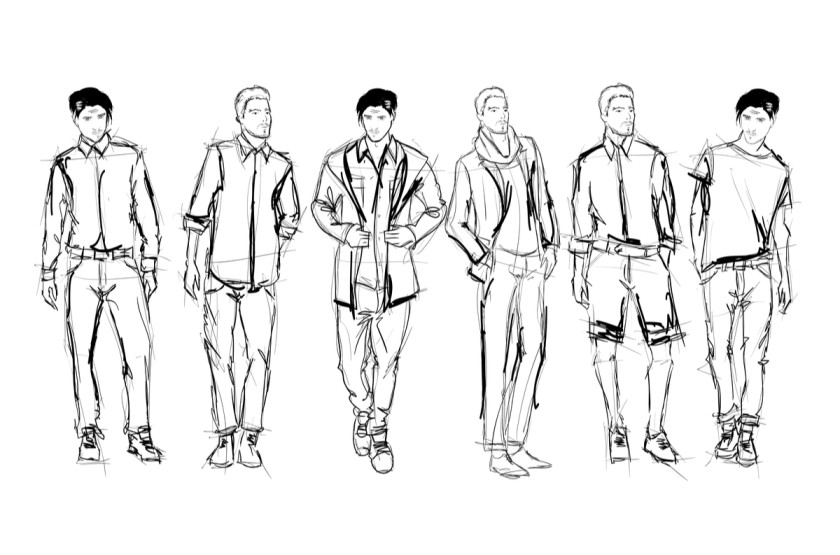
Make sure that the sketch's posture isn't rigid but somewhat fluid and flowing. It will appear chilly and robotic if the fashion figure is sketched standing stiffly. To make the drawing more vivid and convincing, you can represent the model walking, reclining, leaning, or in any other such posture. You can also start with the most typical one — a model walking or striding down the catwalk.
Step 7 - Include visual elements
A garment cannot exist without design features. Seams, volumes — pleats and frills, zippers and straps, and other elements like silhouettes, collars, and sleeves, are all examples of technical specifications. Designers can offer the user a better idea of the final result by including these elements.
Step 8 - Have advanced quality materials
Purchase high-quality alcohol ink markers. These colours mix effectively and produce the blends you desire in clothes, hair, skin, and other areas. Having quality materials in hand makes sketching easier.
Conclusion
A fashion sketch is the first stage in turning any fashion ideas into reality. It is almost like a design template. Fashion sketch design is a simple and enjoyable procedure. Once someone has had enough experience, they will create any fashion sketch design and achieve expertise. For more insights and assistance, log on to Fashinza today.
